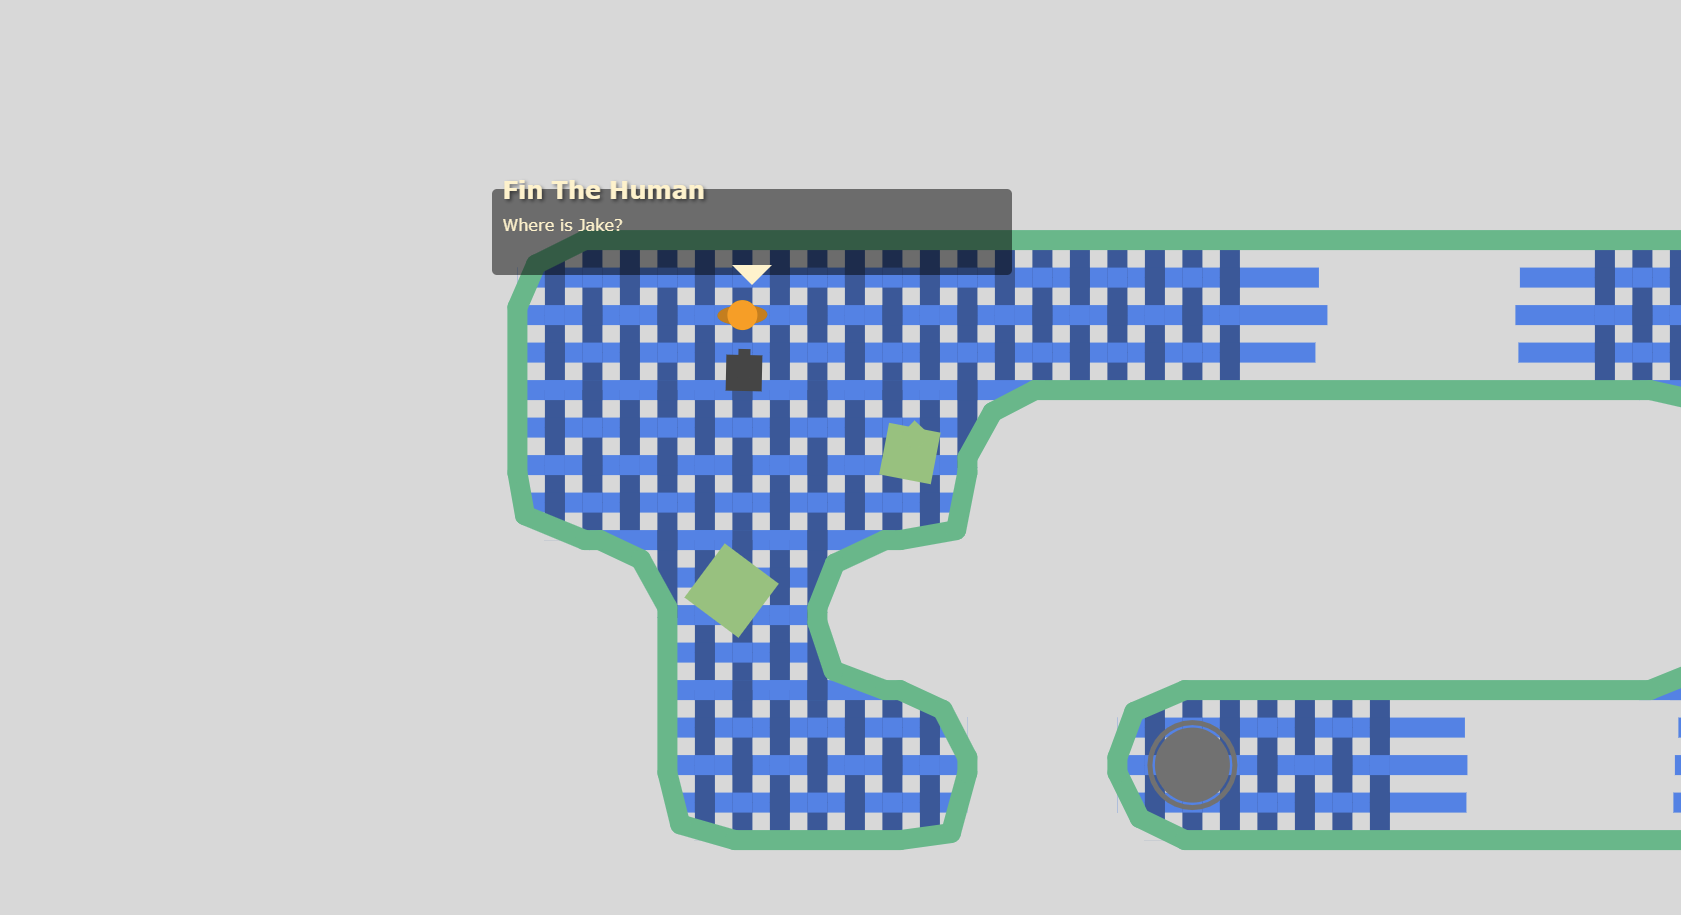

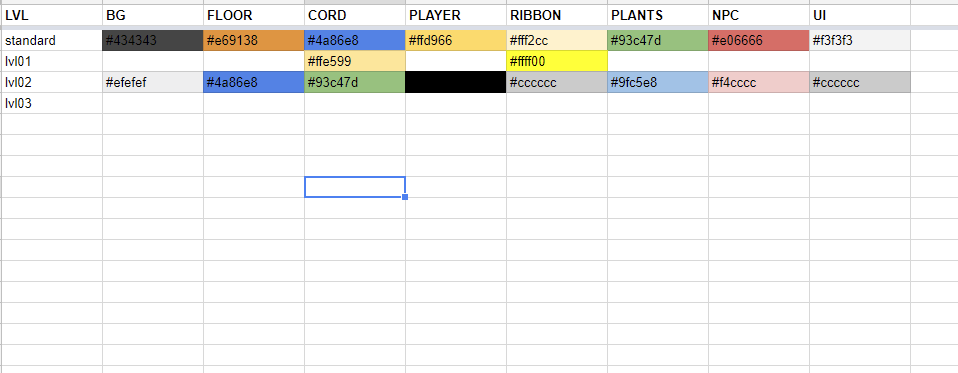
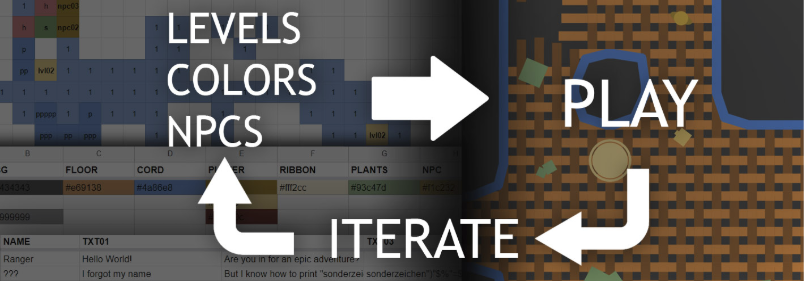
WeaverMap is a trimmed 2D-version of Weaving Tides. The special thing about this small game is how the levels are generated: it reads data from google sheets and dynamically creates the stripes, fixable holes, level borders and even NPCs and their texts from it:

You can play the game here: WeaverMap
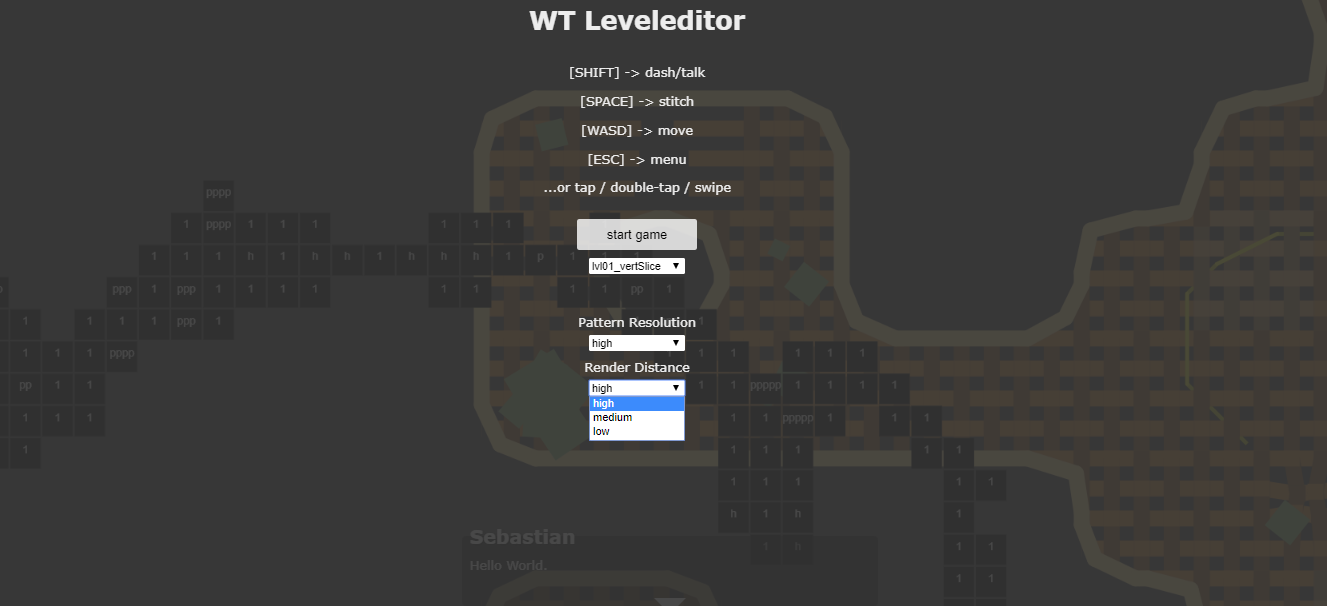
The game uses the same resolution as your browser window, so you probably need to make it smaller. There are also options if you press ESC during play, where you can set the render distance and pattern resolution to lower values. It even has some sound effects - so it's best to lower the volume before starting.
Update: as some people were interested in the player movement, here is a codepen sketch that shows how I did the stitching & character movement: codepen.

The Story behind this game-prototype
As I tried to answer the above questions, the prototype evolved more and more and as it turns out sheets can be quite powerful level editors.
Another important question was mechanic-wise: how could fixing holes and rips work? Here is another small prototype that uses different methods to check if something has been stitched:
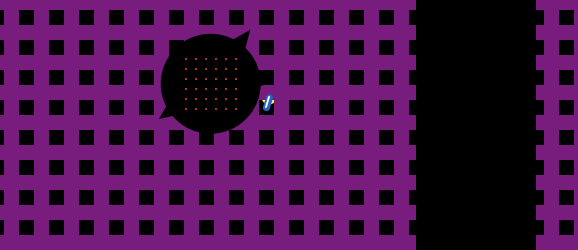
You can try it out yourself here: fixing holes prototype
Dirty Hacks
Some of you might really cringe at what follows, but try to see it as a creative way to solve a problem: player collision. I created WeaverMap using p5js, a javascript library very similar to processing - which means it is good at putting shapes and colors on the screen. So here is how I handled player collision:
- at the first frame of the game I render a completely white screen, except for the border cords: they are colored blue (0/0/255).

- a pixel array is created from this map
- the main character has 4 "invisible pixel checkers" directly around him and also 4 additional checkers that fly in a fixed distance in front of him:
- if one of these pixel checkers is inside one of the blue pixels from the pixel array created in step 2, disable this direction of movement:
I was surprised at how good this system worked and it even gave player movement some kind of steering behaviour, which felt great.
Asset Placement, Color Schemes & NPCS
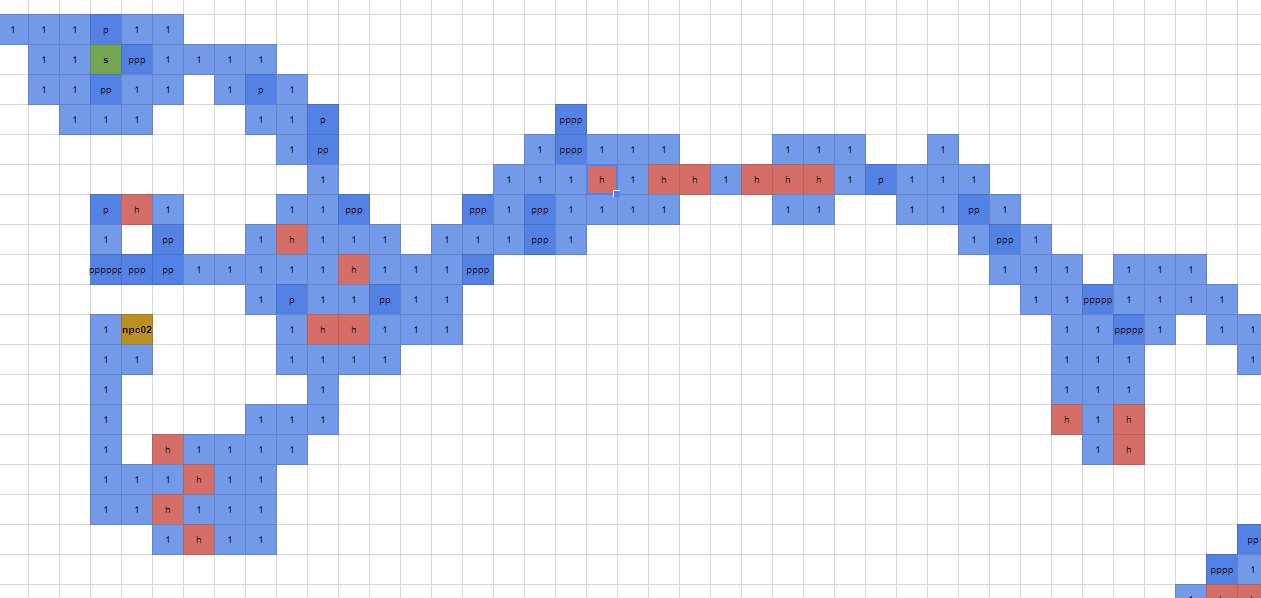
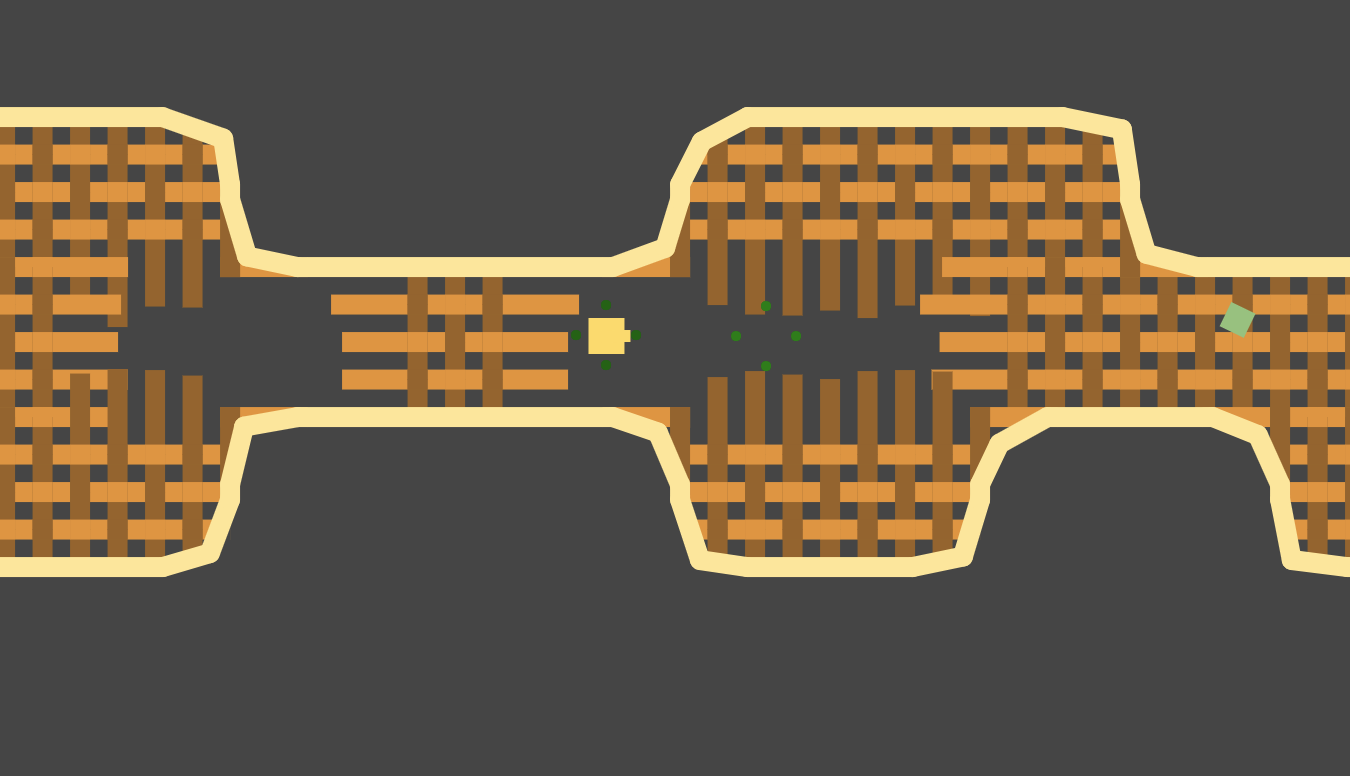
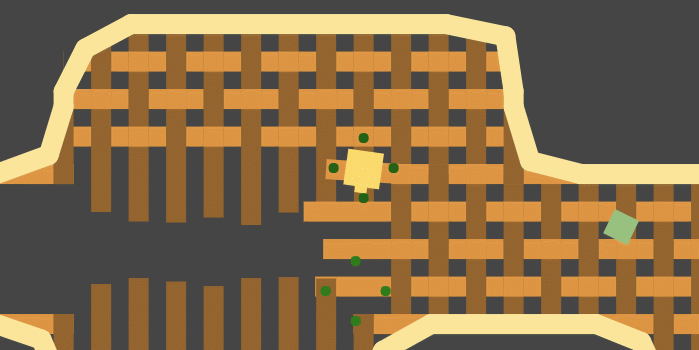
Despite all these little hacks & tricks I think there are also some really cool ideas in this project. One of them is about placing assets in efficient manner. Depending on what is written inside a cell, a different tile will be generated. To easily see what each number or letter does, custom cell formatting is used: "s" will create the startPoint at this location and gets a green background in the sheet, "npc02" will put character number 2 at this position and gets a brown background etc. Here is a short overview of what tiles can do:
- empty: creates border if neighbour not empty
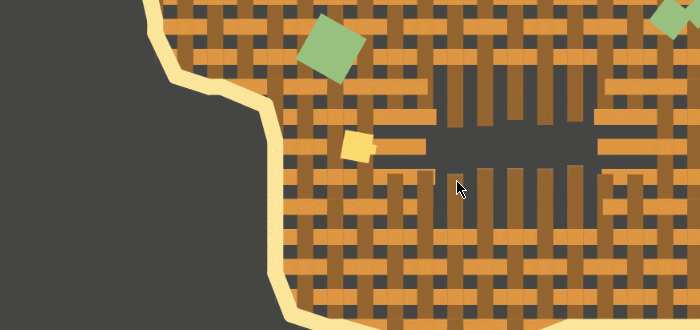
- 1: tile normal floor
- 2: tile hole
- s: player start point (there can only be one!)
- lvl05: teleports player to level #5 on entering
- npc03: places character number 3 from NPC sheet with the according text
- p: places one plant
- pppp: places 4 plants and so on (spoiler: I never really set a limit for this number)
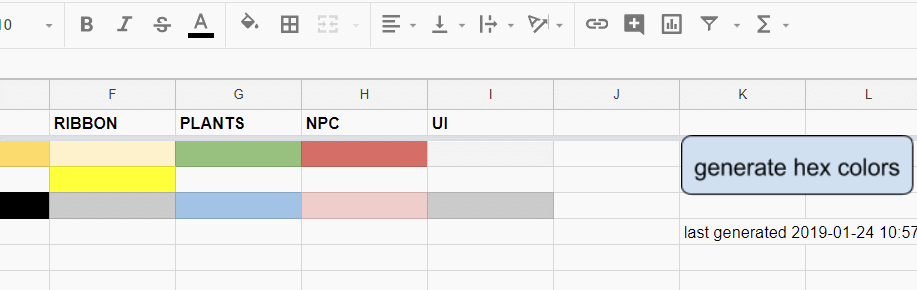
To create different color schemes per level I created a google sheet script that generates hex colors from cell background colors. You can see it in action here:
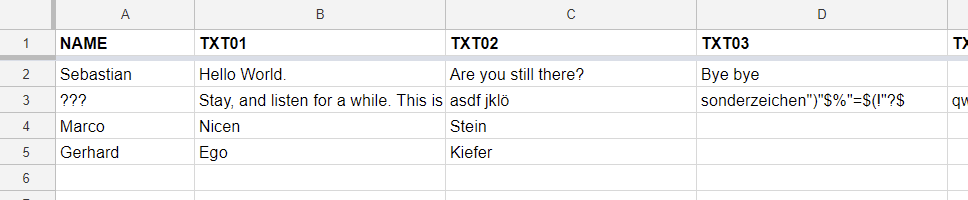
There is also one tab dedicated to NPCs, where I can easily add and edit characters and their texts:
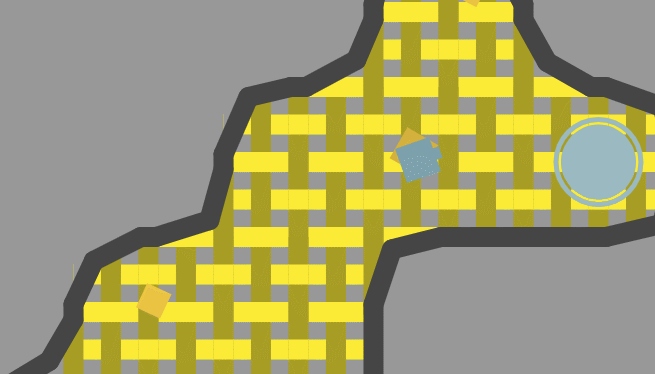
render distance & pattern resolution
As said in the beginning you can change render distance & the level of detail of the ground pattern in the option menu, if you press ESC during play. Both these methods were implemented to get more FPS on slower laptops and phones, and work out quite well.
If you are interested in what exactly happens when you lower these settings, you can just make your browser window very big, and additionally zoom out via CTRL+minus:
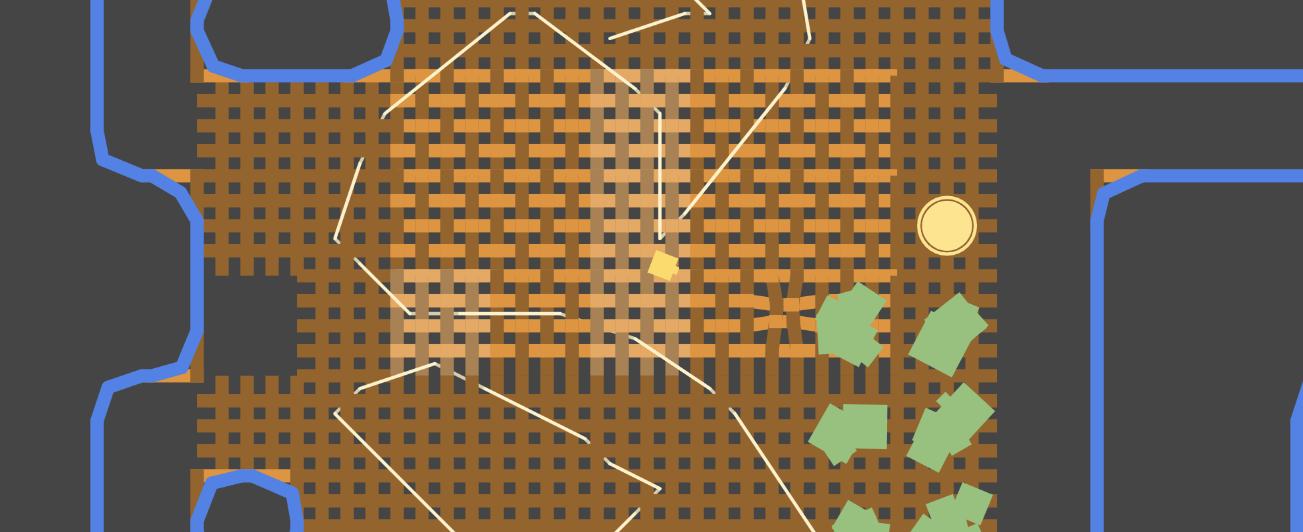
As you can see only a small range around the character gets calculated, which saves a large amount of processing power.
In conclusion I can only emphasize the fun of learning processing, p5 or coding in general. Especially if you come from an artist domain you will find working in processing a very visual task, that may feel more natural to you than other languages.
Feel free to ask if you want to hear more about this project, I might even have one or two "dirty-coding" stories left to tell about this one...